
This guide explains how to send incrementing number values to Google Sheets, a useful method for tracking with webhook nodes. This approach is commonly used for split testing nodes in a decision tree, ensuring accurate data tracking and analysis.
Step 1: Go to https://docs.google.com/spreadsheets
Step 2: Create your Google Sheet by clicking the “Blank Spreadsheet”
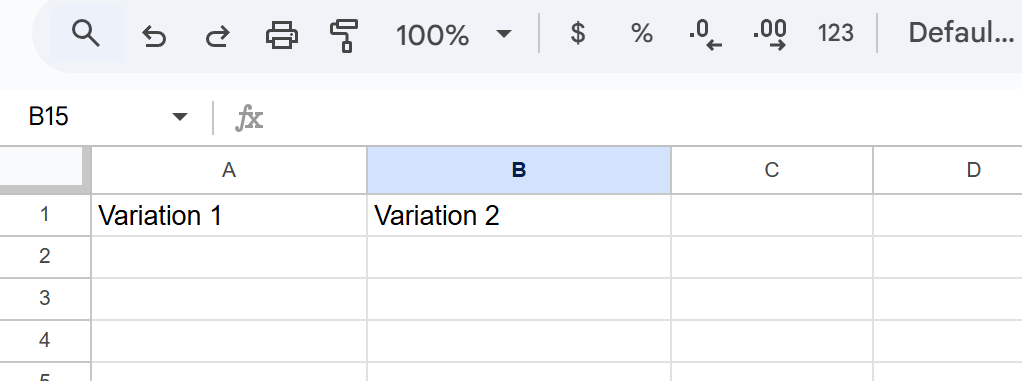
Step 3: In this example we’re going to create 2 columns and name the first row.
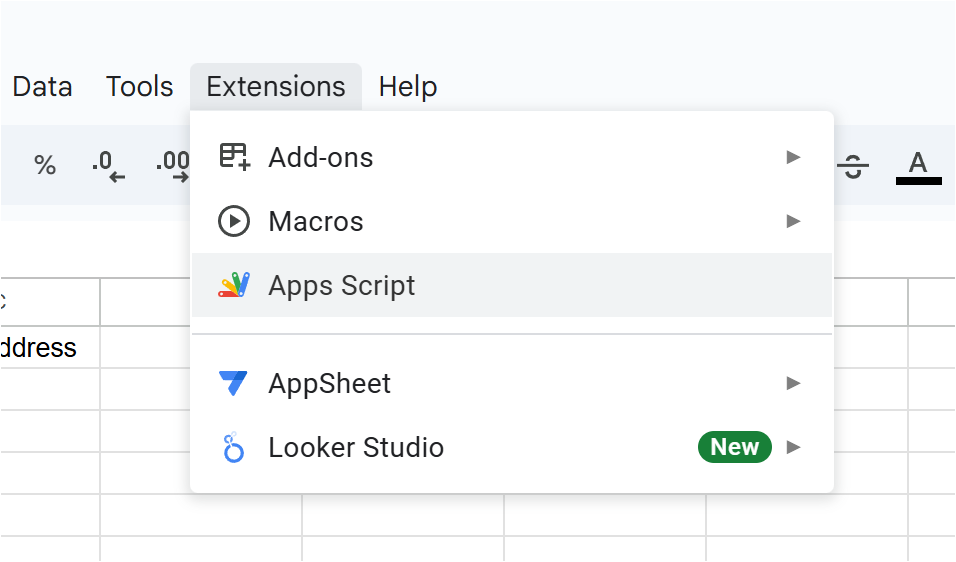
Step 4: Go to Extensions > App Script
Step 5: Copy and paste this code
function doPost(e) {
try {
// Use the active spreadsheet (the one this script is bound to)
const sheet = SpreadsheetApp.getActiveSpreadsheet().getActiveSheet();
// Always read and write only A2
let value = sheet.getRange("A2").getValue();
if (isNaN(value) || value === "") value = 0;
value = value + 1;
sheet.getRange("A2").setValue(value);
return ContentService
.createTextOutput(JSON.stringify({
'status': 'success',
'message': 'Incremented value in A2: ' + value
}))
.setMimeType(ContentService.MimeType.JSON);
} catch (error) {
return ContentService
.createTextOutput(JSON.stringify({
'status': 'error',
'message': error.toString()
}))
.setMimeType(ContentService.MimeType.JSON);
}
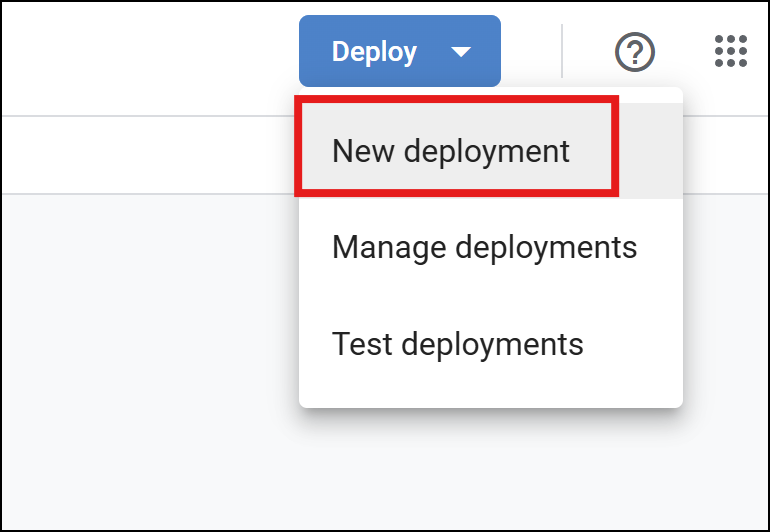
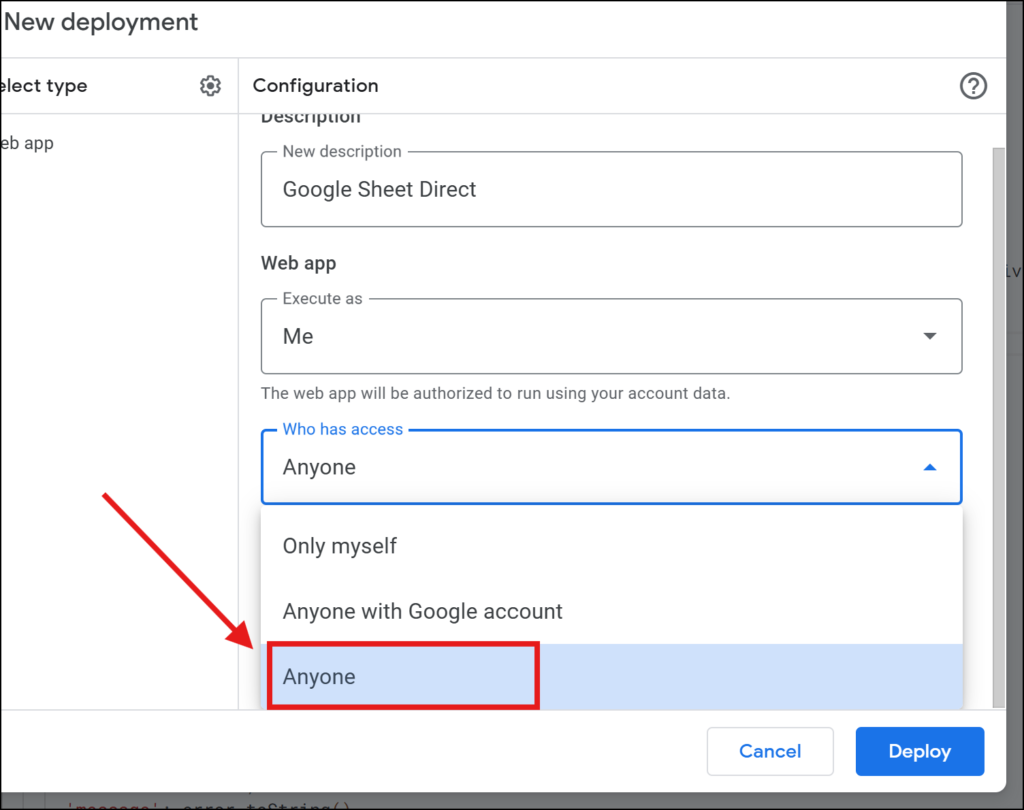
}Step 6: Click Deploy > New Deployment
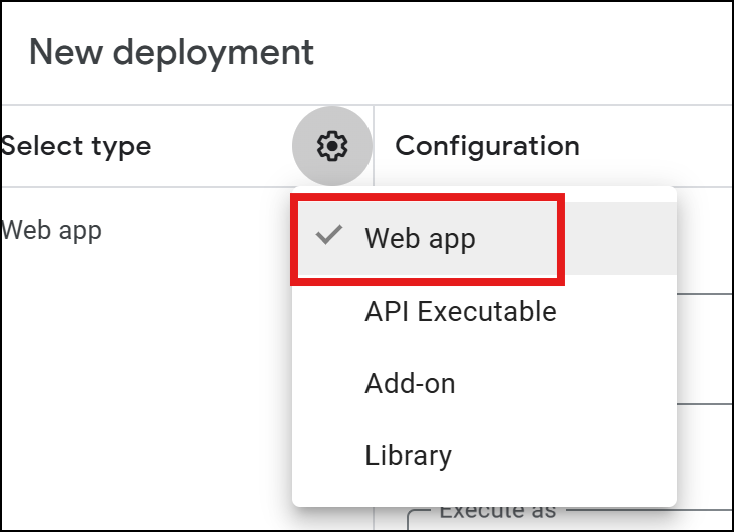
Step 7: Select Type > Web App
Step 8: Set the description and Select “Anyone” from the “Who has access” dropdown
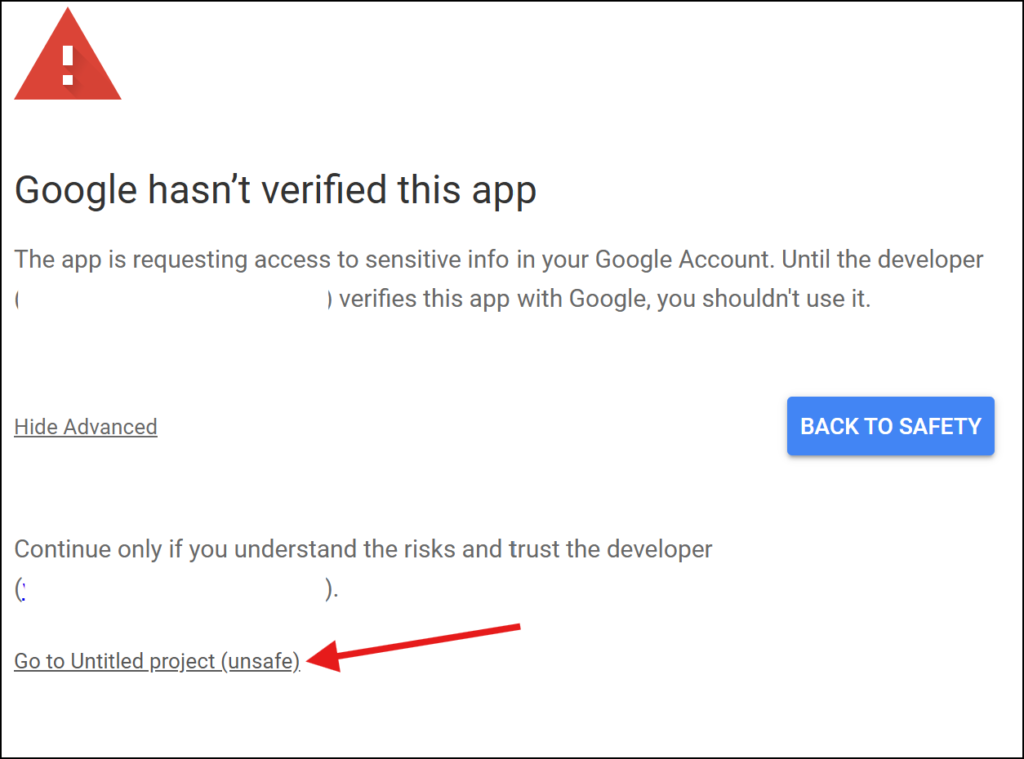
Step 9: Click “Authorize Access”

Step 10: If you see the Google hasnt verified this app message, just Proceed and Allow
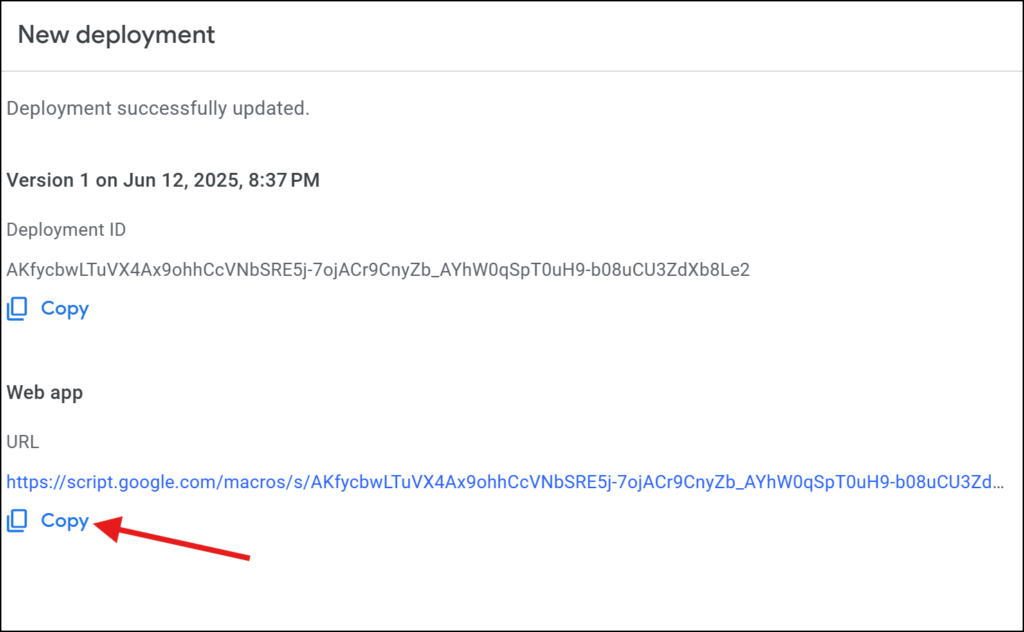
Step 11: Copy the Web App URL
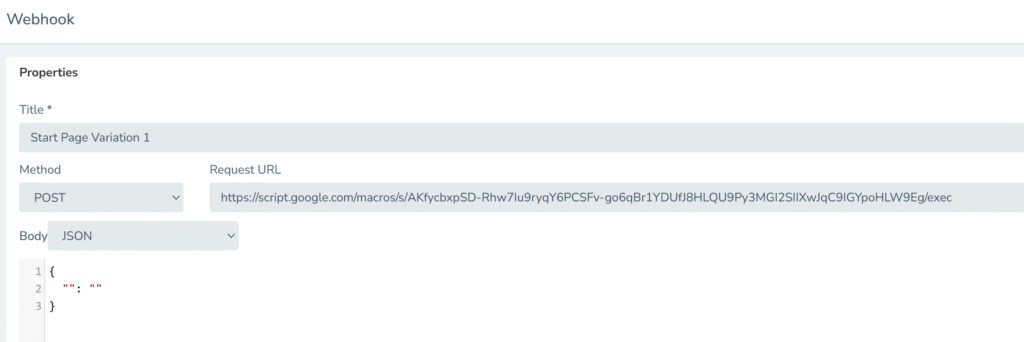
Step 12: In your Leadshook decision tree, create a webhook node, paste the copied Web App URL in your Request URL. It should be configured like this:
Step 12: Save and Publish your decision tree and run test.
Important note: The code adds the incrementing number value to your cell “A2” (Variation1).
Step 13: Go Back to Extensions > App Script
Step 14: Add a New Script and name this Variation 2
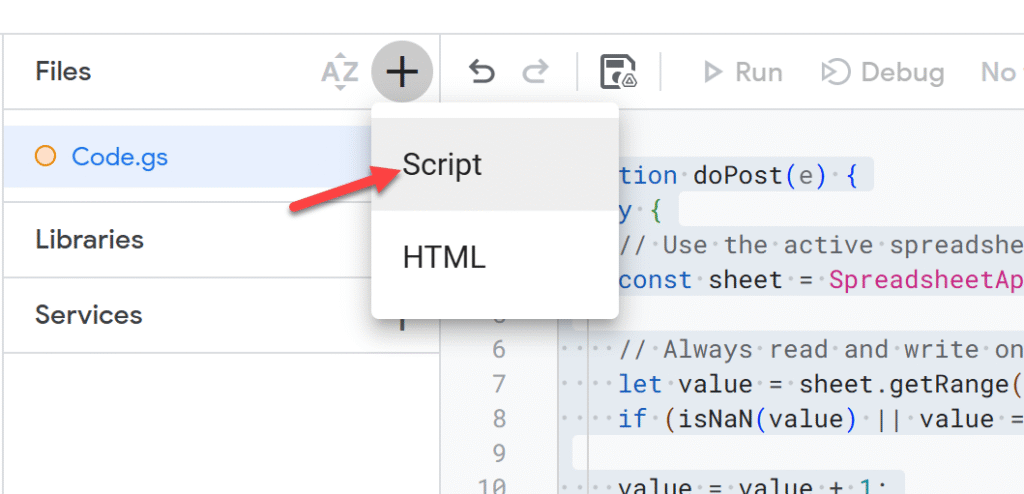
Replace the code’s “A2” with “B2” or any cell that you like if you would like to add an incrementing value on that specific cell. Here’s an example for adding incrementing number to cell “B2”
function doPost(e) {
  try {
    // Use the active spreadsheet (the one this script is bound to)
    const sheet = SpreadsheetApp.getActiveSpreadsheet().getActiveSheet();

    // Always read and write only B2
    let value = sheet.getRange("B2").getValue();
    if (isNaN(value) || value === "") value = 0;

    value = value + 1;
    sheet.getRange("B2").setValue(value);

    return ContentService
      .createTextOutput(JSON.stringify({
        'status': 'success',
        'message': 'Incremented value in B2: ' + value
      }))
      .setMimeType(ContentService.MimeType.JSON);

  } catch (error) {
    return ContentService
      .createTextOutput(JSON.stringify({
        'status': 'error',
        'message': error.toString()
      }))
      .setMimeType(ContentService.MimeType.JSON);
  }
}
Step 14: Click Deploy > New Deployment.
Step 15: Copy that deployment’s web app URL and use it on your other webhook node.

